
I Hope you Like Jammin’
One of the downsides of making music in a DAW like GarageBand is that it’s a lot more difficult to collaborate than with physical instruments. You can’t have spontaneous jams and bounce ideas off of each other in quite the same way. Instead you’re forced to send files back and forth or just try and share a single device, which can really kill the creative flow.
However, GarageBand’s Jam Session function offers a solution, by letting you connect up to four devices running GarageBand over WiFi or Bluetooth and record collaboratively. This means that you can sync projects across devices, so I can jam out a drum beat on my iPad, while my friend adds a bass line using his iPhone and it all gets automatically recording into the session on my device.
Setting Up a Jam Session
So to actually set up a GarageBand Jam Session, all you need to do is go into settings in GarageBand and go to Jam Session. From here you’ve got the choice of either setting up a new session or joining an existing one. Setting up a new session means that you’ll be made the session leader and have control over things like session tempo and key. This means that for anyone who joins the jam, their GarageBand project will be synced to yours so when you hit record you’ll both be perfectly in time. As the session leader, you exclusively have control over playback and recording, although you can turn this off with the Band Leader control and other members of the jam will then also be able to control playback and recording (although they won’t be able to change the tempo and key).
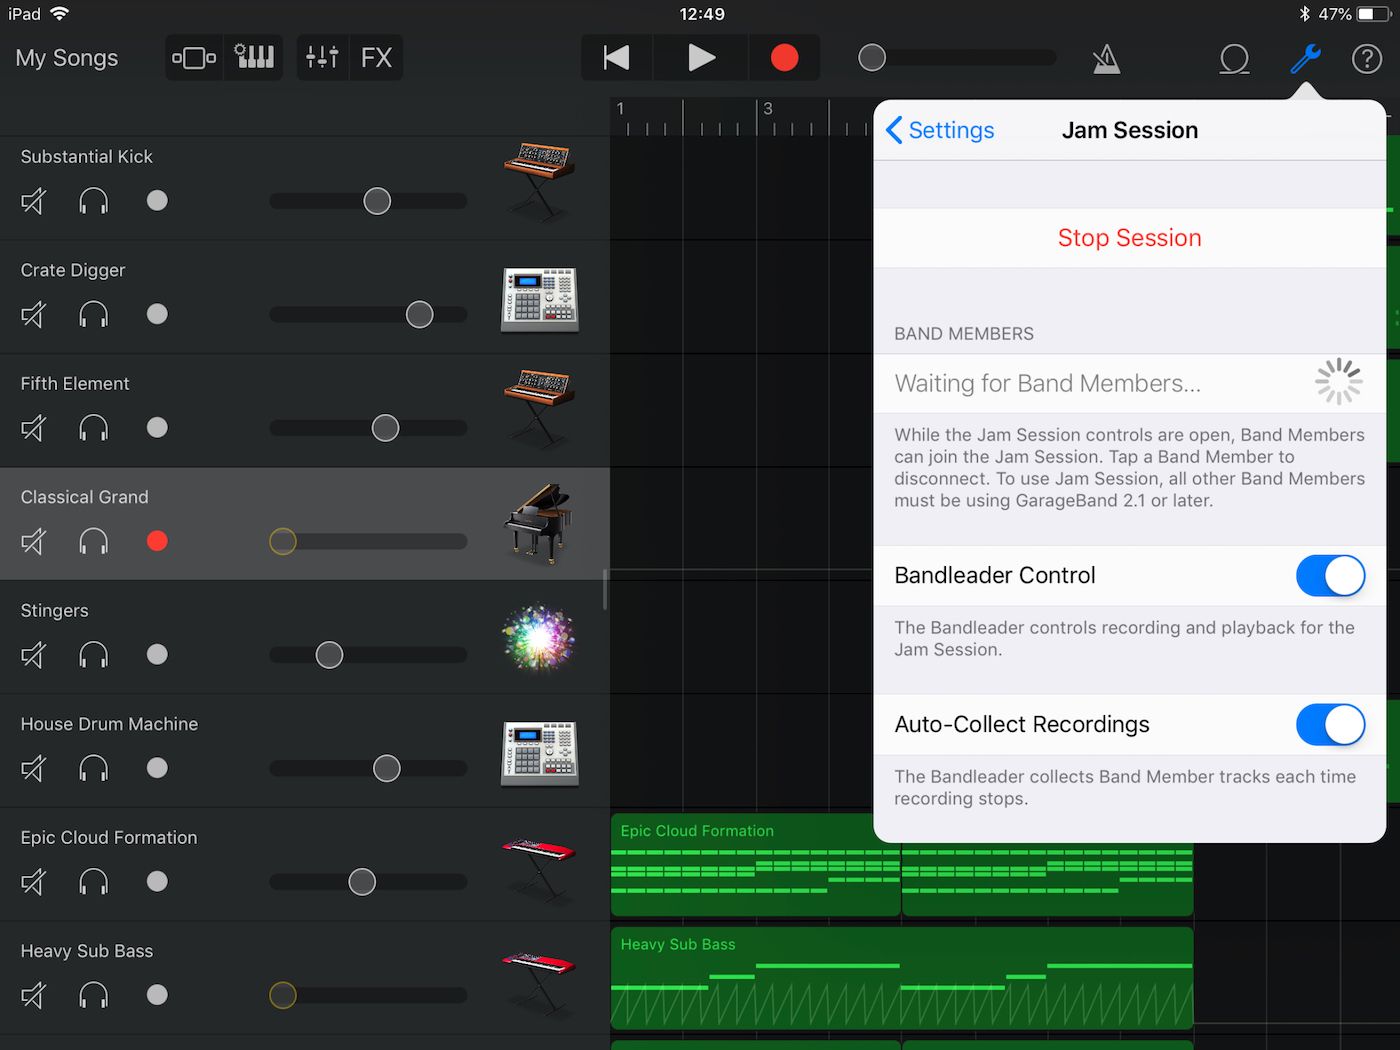
The other option you have as the session leader is to Auto-Collect recordings. This means as soon as you’ve finished recording, everyone else’s recordings will be automatically copied over to your iPad. Otherwise you can select which tracks you want to copy across once recording has finished. The other great thing is that all of the recordings are copied over as MIDI which means that you can then edit and fix any mistakes.
The one thing to be aware of with Jam Session is that you’ll only be able to hear what you’re playing out of your iPad’s internal speakers. This means that to make sure that you can hear what everyone else is playing you’ll need to be able to hear the output of their iPad. This might be fine if it’s only a couple of you jamming, as you can make sure you’re close enough to hear the other person’s iPad. However, if it’s a larger group then huddling round to hear each other’s iPad speakers isn’t ideal. In this scenario, you’re better off running your devices through a mixer and into some speakers to make sure everyone can hear what’s going on clearly.
So that’s all there is to it in terms of setting up a GarageBand Jam Session, it’s now up to you to go and jam yourself!